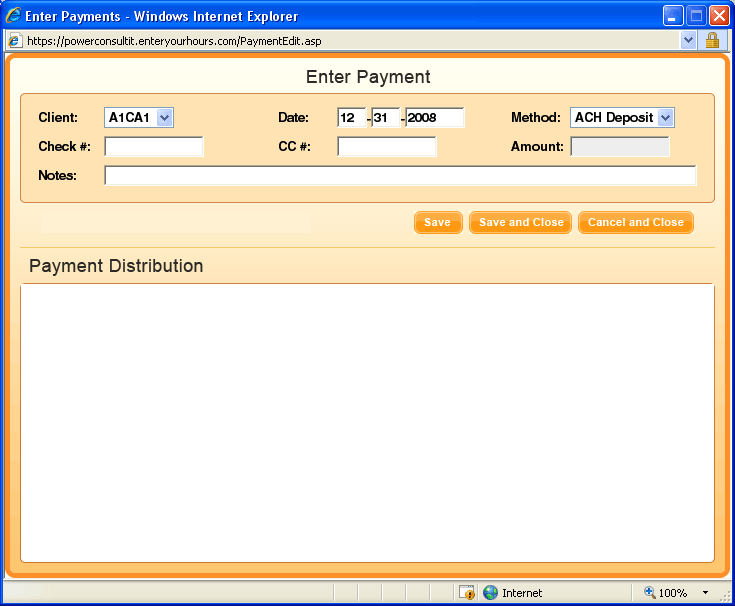
You can access a blank payment form by clicking the  button in the Accounting Center toolbar.
Enter Payment Form

To enter a new payment, first select a client. Immediately you will see the total amount due or (owed) to this client. You will also see all the outstanding invoices listed below. Fill in the date (the payment was received), the payment method (not required), the check # or cc # (not required) and the amount. For more information on the fields, click the explanation of fields topic.
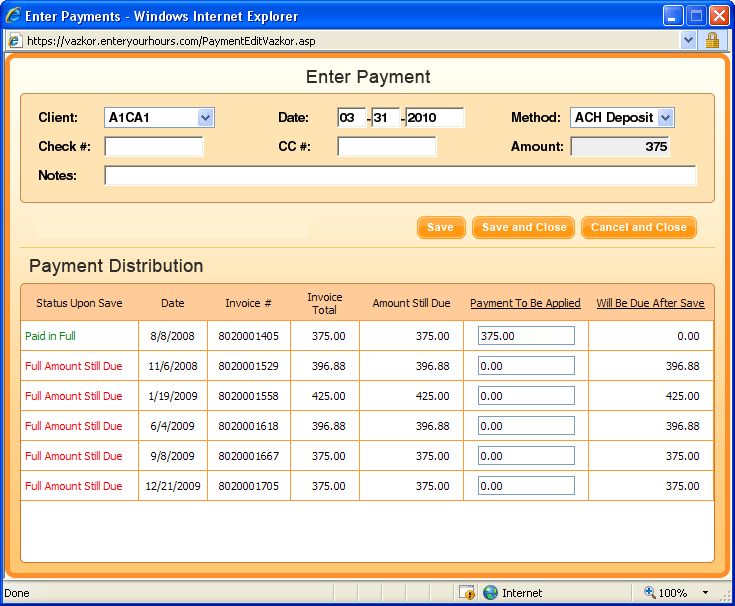
Once you finished entering the amount and move to the next field, you will see the bottom area change. Two new columns, payment to be applied, will be due after save will appear. By default, the payment will be applied to the oldest invoices first, and will be applied to as many invoices as possible until the payment is used up. However, you can manually alter how the payment is applied. For example you can apply the payments to older invoices. Also, a payment larger than the total amount due can be entered, if you wish to show a credit. This is useful when you are accepting retainers. This sort of payment can even be entered before the first invoice is created for the client.
Enter payment form after $375 payment is entered:

Be sure to check your math if you manually alter the way the payment is applied across your invoices. The total of the applied amounts (e.g. what you put in the "payment to be applied" columns) must equal the total payment amount you entered at the top of the form.
The status upon save column gives you a preview of what the status will be if you save the payment entry. An invoice can either be paid in full, partially paid, or full amount still due. If the status is partially paid, pay close attention to the payment to be applied and will be due after save columns. If an invoice shows paid in full, you will a check in the paid in full column in the invoices tab. You can also filter the invoice list based on this information. To save the payment click either the save or save and close button.